Compact airbrush booth
Process, September 2012

What's this? I suddenly decided that I needed a spray booth for my airbrush. After having looked at various DIY solutions, I came up with my own design. I needed a slightly pyramidal transparent box to let in light, some sort of easily manageable fan, a hose, and a filter. I had no idea if this would actually come together. The tube fan that I got displaces 100 cu/m per hr, which is about... a medium-hard human powered blow. It should create sufficient under-pressure in the box, I hope. The hose/tube might be a bit short at 1.5m, but I needed a compact light one.
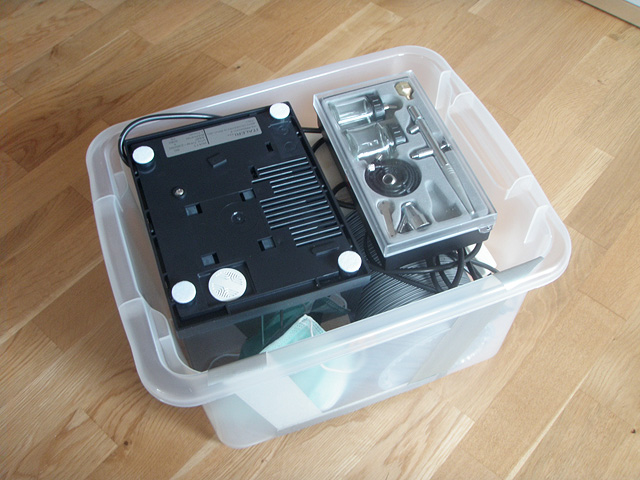

This is the work setup. I did my first electrical work since school, adding a switch to an old power cord and attaching it to the fan.

This is a kitchen fan filter, not something to filter fumes with. I just don't want too much of the paint particles in the fan. A finer filter might choke the fan considerably more than the current setup. The black rubber ring around the cord should isolate some of the electrical stuff from moisture, but I don't know if junk will accumulate in the... spinny joint.
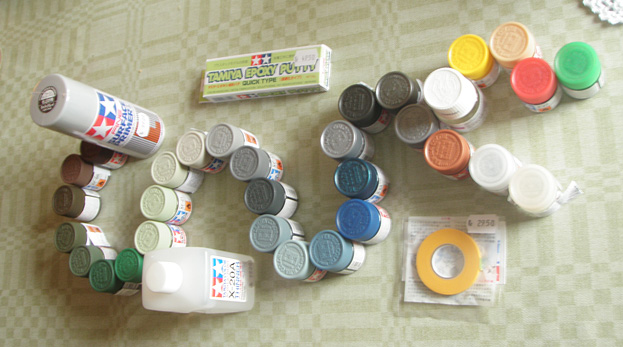
New Tamiya acrylic paints! Will be interesting to see how these work. Will phase out the GW/Citadel ones which have only ever been OK. Vallejo stuff is great, I hear.
Working in the garage, trying out some "pre-shading" techniques on an old 1:72 Italeri Harrier Gr5 kit. Works best on lighter tones. Had to pre-shade the dark green top of the kit over... a dark green rather than the light grey primer. I guess it's not really pre-shading then. I'm thinking I should get/make a spinner dish for the paint subjects. The plastic gloves leave paint "fingerprints" when handling the model, so I didn't use them much.
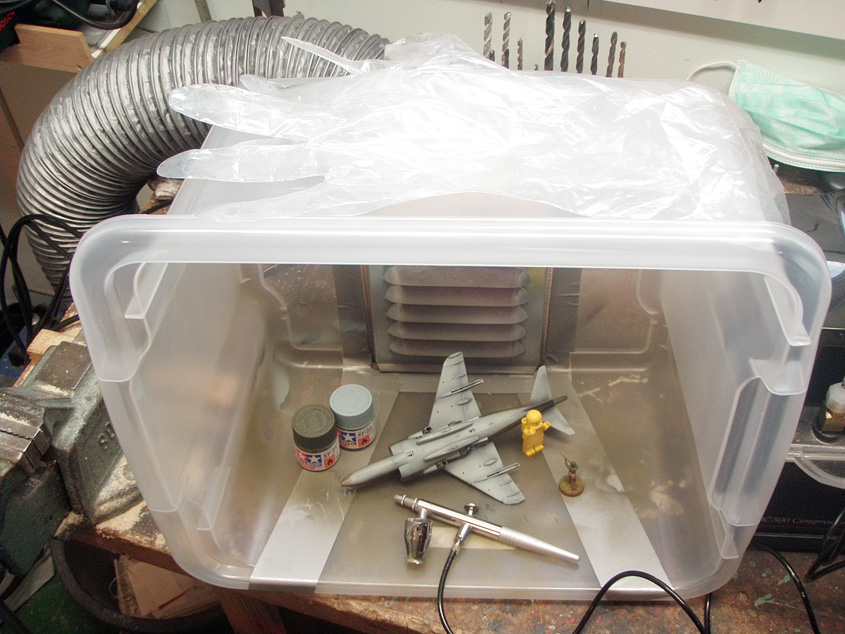
The Tamiya colors seem to spray fine with the X-20A thinner. I still haven't tried the yellow or white, which are usually tricky (not enough opacity/pigment?). The black filter has already picked up quite a bit of paint particles, with only a few getting through, dotting the white fan blades. When working, the air smells a bit like sweet liquor because of the alcohol and stuff.
The airbrush station was probably about 75 usd in material. Paints were almost 140, and I'm still missing some which weren't in stock. I've had the Italeri compressor for a while, but using it has been a hassle. I use acrylics so there are no fumes, but the paint particles were always a worry, and working outside is not practical and a no-no with high humidity.
P-39 Airacobra build log
Looking at the parts
This kit is probably the worst I've seen. But it's from the 60's (afaik), and I was expecting one of Airfix's new retools that they were bragging about, since the box art was showing off a 3D model and looked kind of modern. The part details are sort of okay, but seem to have been cast with the precision of those low-end plastic soldiers for kids. All wobbly.
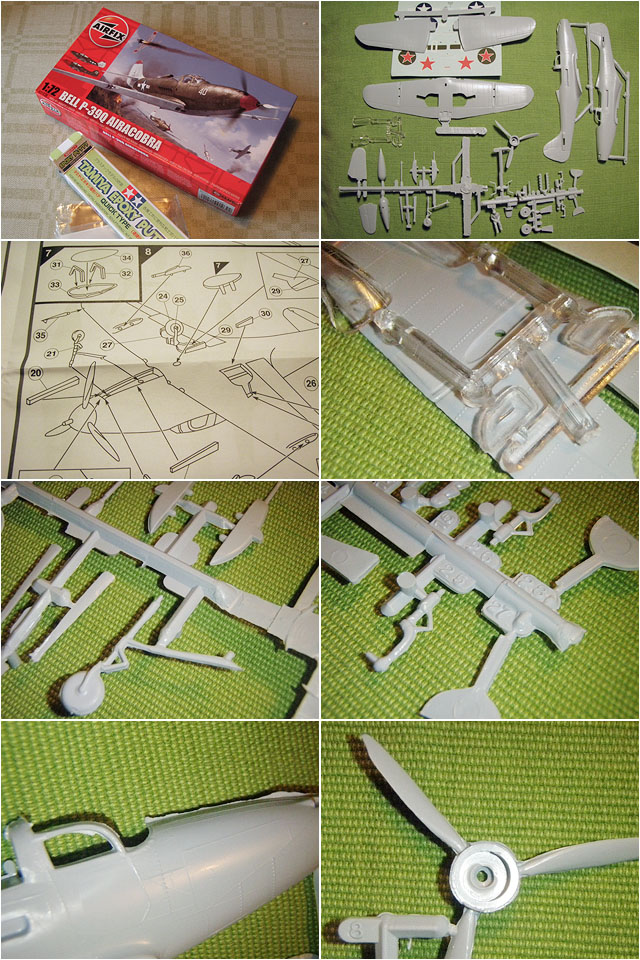
I'm not a professional builder, or a warplane buff, but I decided to play give this kit a bit more attention than it perhaps deserved.
Tamiya's quick putty came in handy for fixing the gaps and fixing damaged parts. The putty needs a day before it can be sanded/filed it seems. I also used it to sculpt some of the details that I saw on some P-39 pictures. I sanded the raised panel lines and rivets down a bit, as I was going to try to pre-shade them with a regular brush before airbrushing. This was a bit of a mistake, perhaps, as I later discovered that it makes dry-brusing raised details harder.
Diorama base
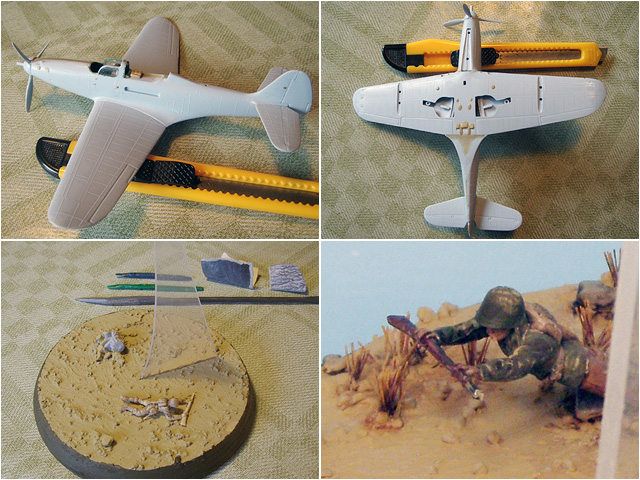
I also built a flying base out of wood and transparent plastic scraps. At first, I wanted to tuck in the landing gears, but the tricycle layout is sort of fun so I decided to try and do a take-off diorama with the landing gear halfway in. I used a splinter from the plastic container that I made the airbrush station from, and a piece of wood. The gravel is made from wall-filler mixed with paint and sand (filtered into larger grains).
An American soldier had to do a belly flop as the Russian pilot takes off in his new present. I wanted to paint the plane silver first, but the Russian color scheme has a certain charm. Apparently the wing cannons were removed by the Russians, but in this scenario, perhaps they had just gotten the plane and did some crazy tests.
I made two mistakes applying the textures paint. First, it's a good idea to keep the amount of gravel down, not distributing it equally. Second, I tried making some wavy micro dunes with a brush, but didn't use enough water, leaving sharp brush strokes. I tried to fix this with some grass clusters, made from toothbrush bristles stuck into more texture paint. The top end of the bristles were painted in a warm earth color, and I gave the base around the roots an earth color wash to blend them in a bit.
Beginner lesson learned when building a separate kit
Take the water transfer out of the bath, put it down on a (plastic) surface, soak up the water with a q-tip. Don't want water on the model when using something like Decal Fix (I hear Micro Set/Sol is better though). Decal Fix is applied on the model (I use a cheap brush for that), where the transfer goes. Press down reasonably hard on the decal with a moist q-tip to push air out from underneath, or that air will show up as white fog when dry. Nudge it into place further. Dab the decal glue off with the q-tip. Dab little Decal fix on top of the decal with the brush. I dab the excess off with a q-tip. Supposedly, the Decal Fix or its kind makes the decal hug the panel lines and curvatures a bit better. Make sure to wipe off excess liquid around the decal, or it will stain the surface. Perhaps this can be fixed with a dull or gloss coat later.
Airbrushing and weathering
The effects of pre-shading proved negligible compared to my newly developed watercolor wash technique. At first I tried to give the top a base coat of Tamiya's XF-62 Olive drab, but it was too dark, and my black pre-shading lines didn't show much. So, I sprayed that over with Olive Drab mixed with a XF 83 RAF Sea Gray. It resulted in a look closer to that of the weathered P-39 specimen in a Finnish museum. I've heard several builders say that 1:72 kits need to be a bit lighter in tone, or they become dark silhouettes with indoor lighting.
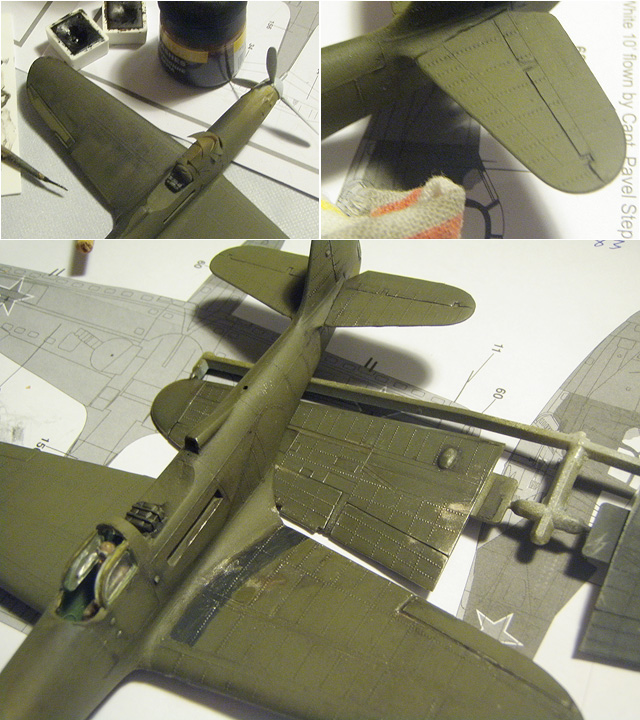
After some research on how to deal with raised panel lines, I developed a technique using my old Winsor&Newton watercolor cubes, water and some of the Tamiya Alcohol thinner. The latter does something with the surface tension, causing pigments to settle differently. Normally, using just water, the pigments tend to stick along the edges of pools and droplets, preventing them from settling in the indents where you want them.
Anyways, the idea with using watercolor is that it can be soaked and dabbed off, leaving some grime around details. I use small piece of moist cloth for this. I wet the cloth and squeeze/wring it as hard as I can. If it's too wet, it might pick up pigments from the indents. I want it to just pick up the surface material.
I first apply the wash over the entire surface, leave it to dry for a few minutes, then dab off most of it with the cloth. I found that it's a good idea to do a finer, more careful second pass over rivet lines and such, sort of painting in darker panels and edges, cleaning up mistakes with the cloth.
After this, I do some dry-brushing with a flat silver color, and then dab on some rust wash over select areas, using a Citadel's Gryphone Sepia Wash. I think the effect looks pretty ok, and the water color stage is pretty forgiving and mistakes can be undone.
I gave a 1:72 Henschel 129 a similar treatment, minus the metal drybrush: Flickr image and another.